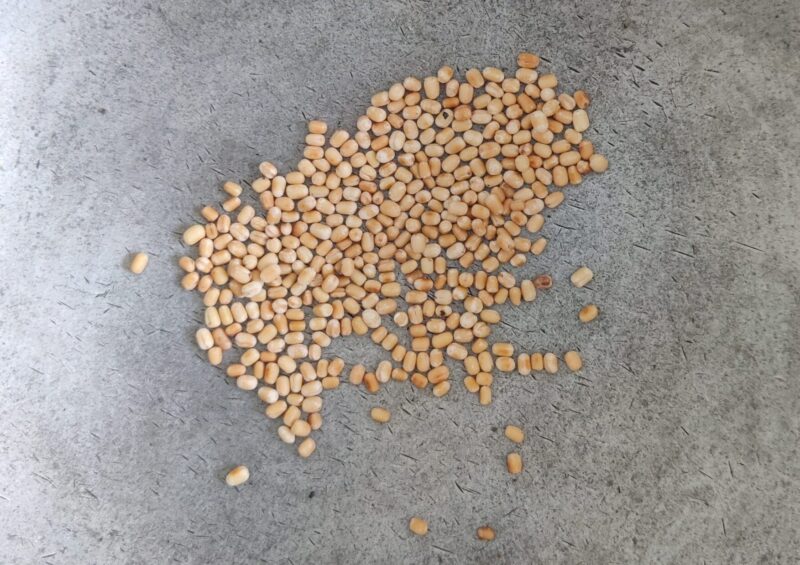
| Chana dal (Bengal gram) | 2 tablespoons |
|---|---|
| Urad dal (dehulled black gram) | 1 tablespoon |
| Kodo millet flour | 1 cup or 250 grams |
| Salt | 1 ½ teaspoons |
| Red chilli powder | 2 teaspoons (adjust for spice tolerance) |
| Asafoetida | ¼ teaspoon |
| Groundnut oil | 2 tablespoons |
| Curry leaves | 10-15 |
| Unsalted butter (chopped into pieces) | 1 tablespoon or 10-12 grams |
| Water | ½ cup to ⅔ cup or 125-150 ml |
| Refined cooking oil | approximately 1½ cups or 400 m |
What You Will Need
Parchment paper, a frying pan, a kadhai for deep-frying, paper towels, a mixer grinder or spice grinder, a damp cheesecloth.
Instructions
Soak the chana dal in water for 30-45 minutes. Once soaked, wash and drain the dal, and set aside.
Place a frying pan on the stovetop. Let the pan get hot on a medium-high flame, then add the urad dal and roast it until it turns reddish-brown and aromatic.
Turn off the stove and let the urad dal cool down. Put it into the mixer grinder, grinding it to a fine powder.
Add the ground urad dal, kodo millet flour, salt, red chilli powder, and asafoetida to a large mixing bowl and stir together.
Turn on the stove and place the frying pan on a medium-high heat. Add two tablespoons of groundnut oil to the pan, and once heated through, add the curry leaves. Fry until the curry leaves are crisp and turn dark green.
Turn off the stove, and pour the fried curry leaves, along with the oil, into the mixing bowl. Mix everything together well with your hands, crushing the curry leaves into the flour mixture.
Add the unsalted butter, and about 100 ml of water (little more than 2/5th of a cup) to the bowl, and mix well.
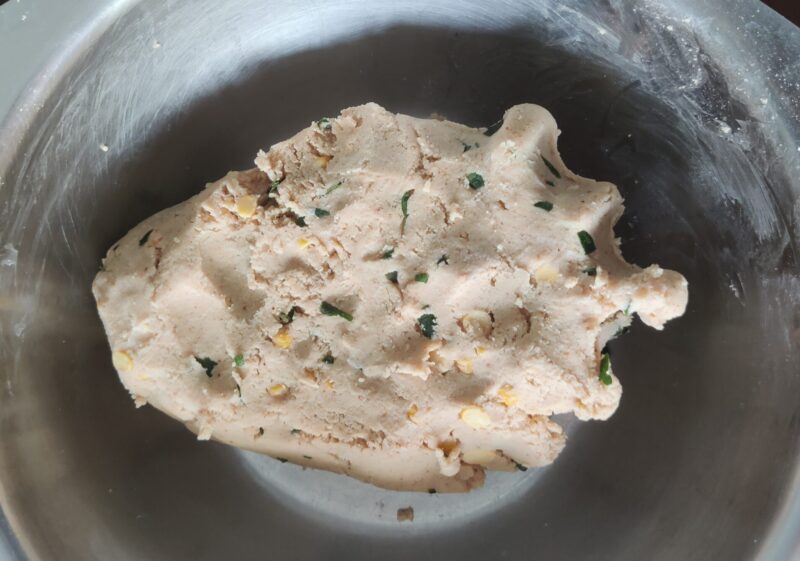
Add water as needed while kneading the dough, until it comes together without crumbling. It should feel soft and pliant.
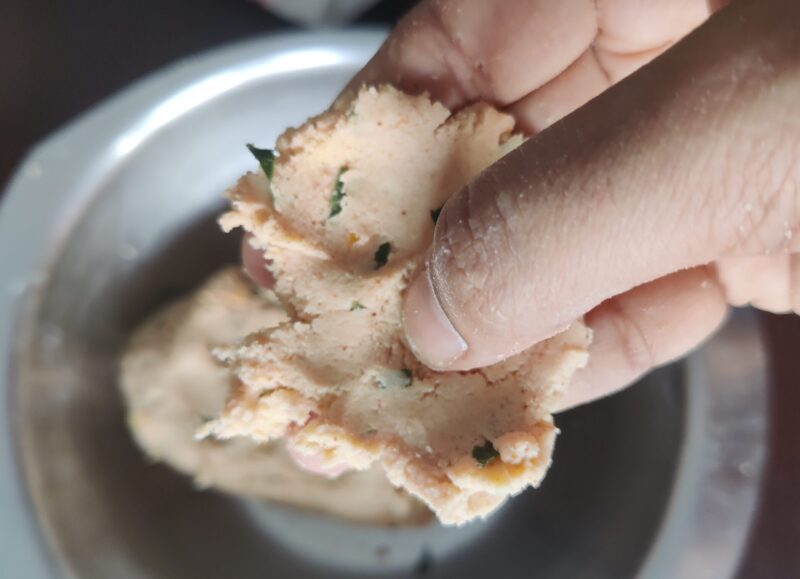
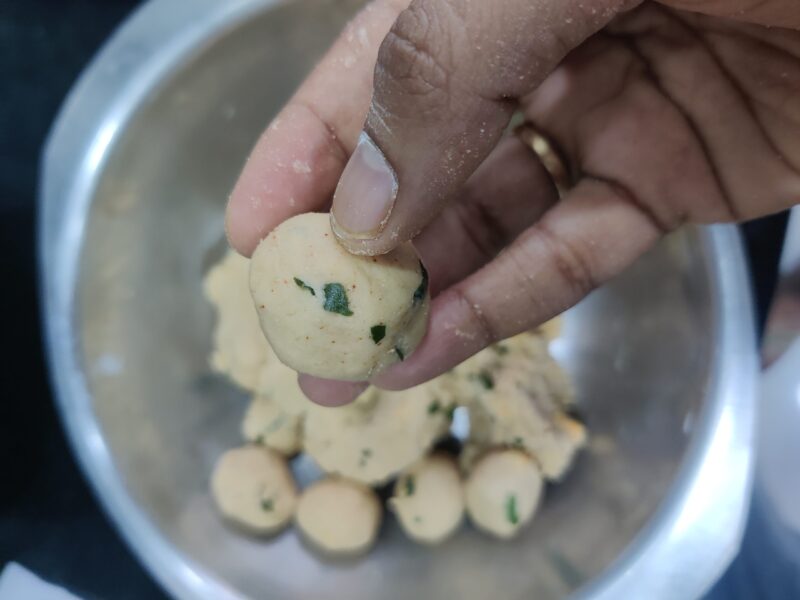
Shape a batch of the dough into 5-6 balls, the size of gulab jamuns. Keep the rest of the dough covered with a damp cloth. If the dough gets dry, sprinkle a few drops of water and knead it again before shaping into balls.
Turn on the stove and heat refined oil in a kadhai on medium-high heat.
Grease a clean parchment paper with some oil, place a ball of dough on the paper, and gently press it into thin circular disks. Each disc of dough should be thin, about between 3-4 inches in diameter.

After flattening a batch of discs, gently add them to the oil. Keep your palms greased with oil so the dough does not stick to your hands as you place them in the kadhai.
Leave the thattai undisturbed in the oil for about 15 seconds to firm up, then gently flip them to ensure even frying.
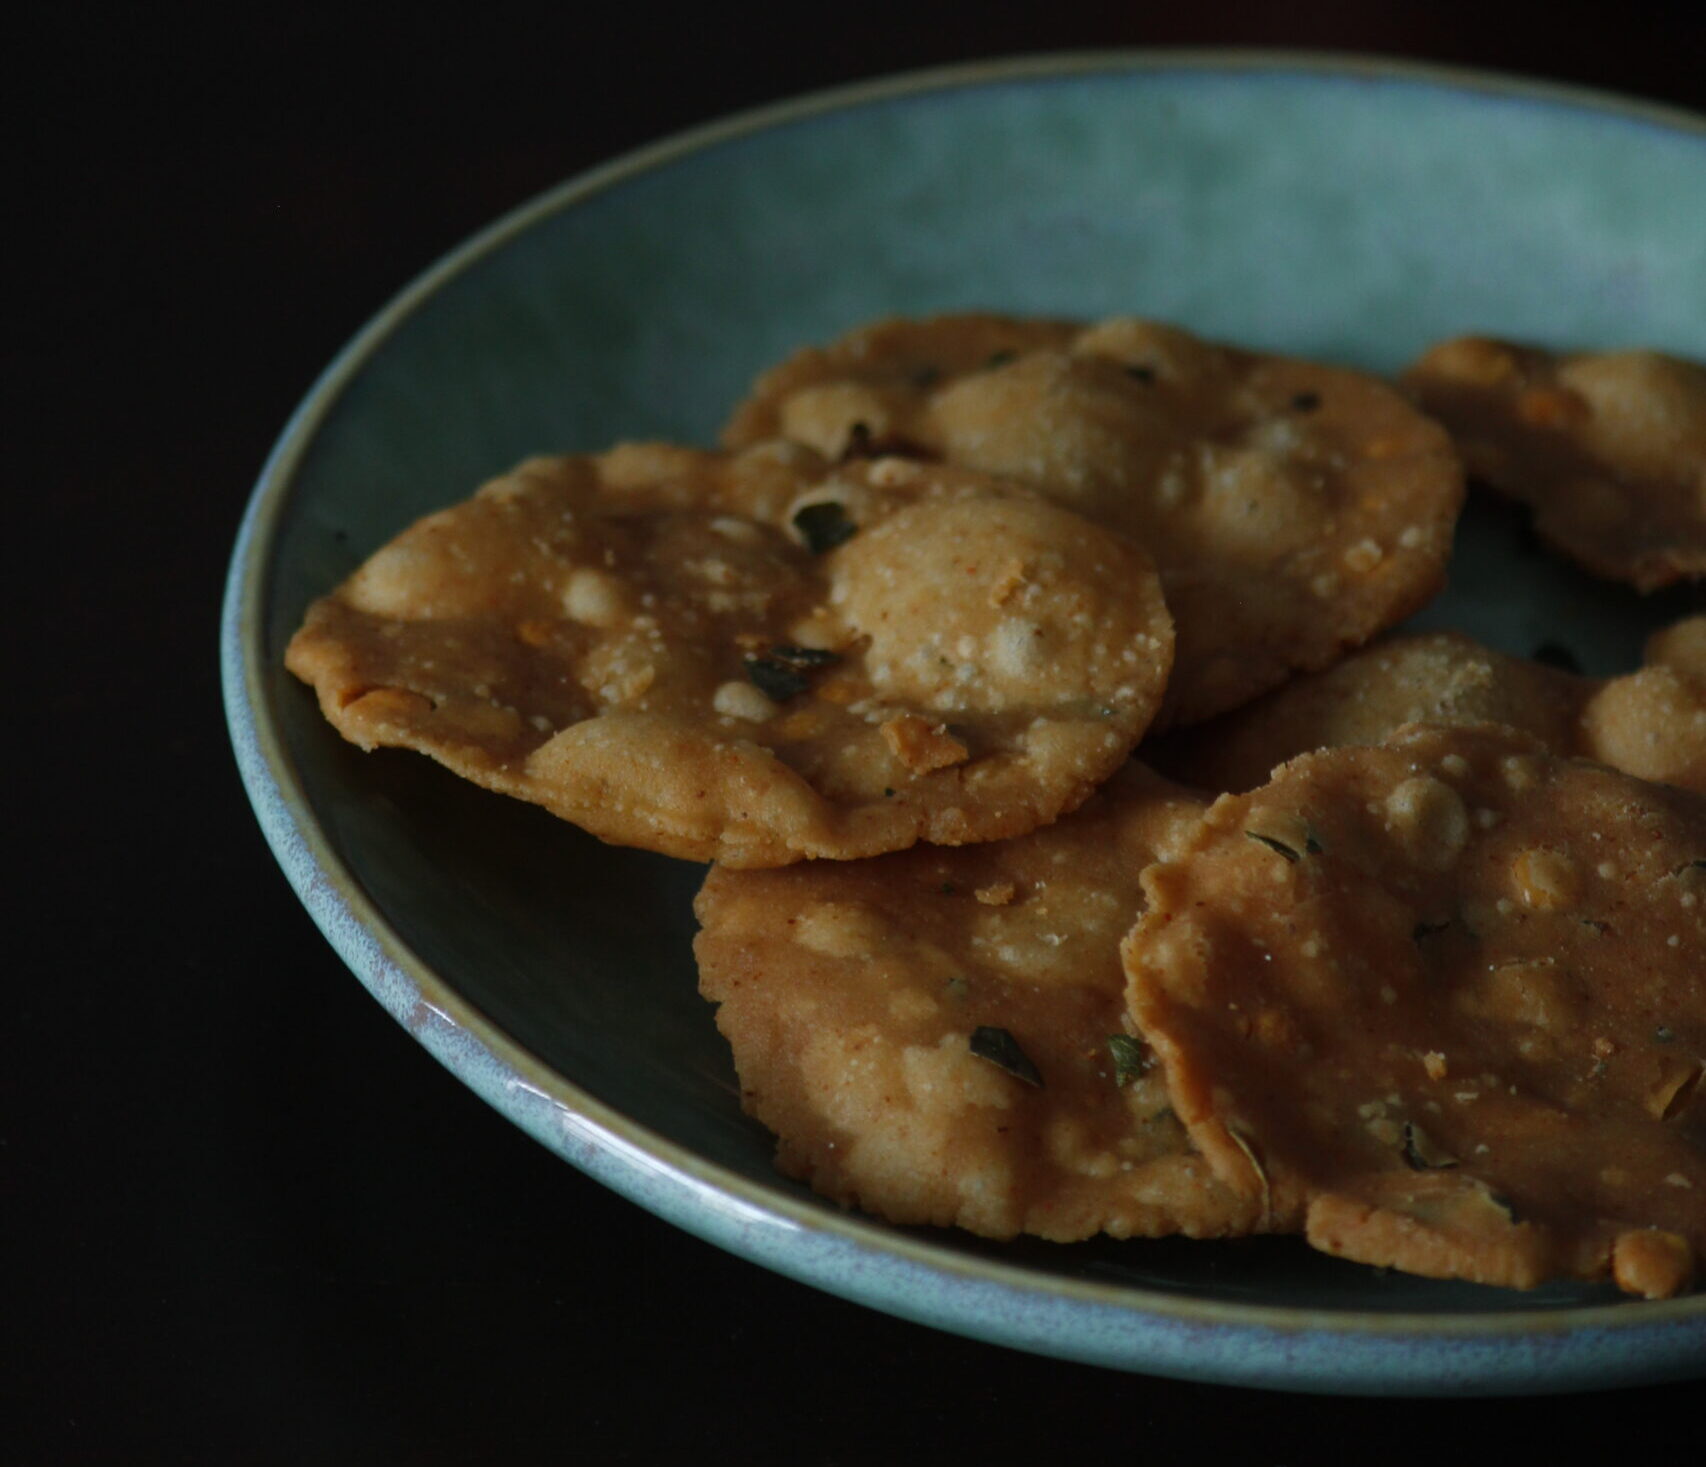
Deep-fry them until the sputtering of oil completely subsides (a little more than a minute). The thattais should have turned golden-brown by this time.
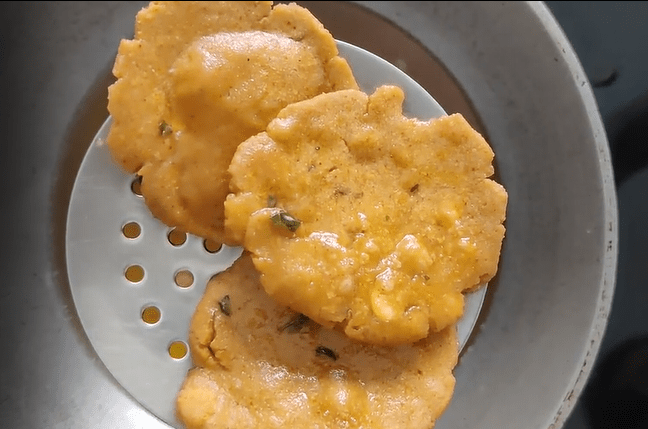
Remove the thattais from the kadhai using a slotted spoon, and transfer them onto kitchen tissues to absorb any excess oil.
Repeat the process until all the dough is used.
Once the thattais are cool, transfer them to an airtight container. They will stay fresh for 8-10 days.
Tips
- Keep your palms greased with oil while flattening the dough into discs.
- To check the temperature of the oil used for frying, add a small pinch of dough to the oil. At the right temperature, the piece of dough should rise up to the surface within a few seconds.
- You can gently prick the surface of the thattais with a fork to ensure uniform frying if you are trying the recipe for the first time.
Variations
- Roasted chana dal can be added to the dough instead of soaked chana dal.
- Black urad dal can also be used instead of white urad dal.
Sharada Sriram started cooking when she was 14 years old. Her culinary passion lies in reviving traditional recipes using a contemporary twist, and she delights in incorporating seasonal, locally-sourced produce in imaginative ways. She shares her cooking experiments on Instagram @adupangarai_aroma.
You must be logged in to rate this recipe.

Sign in with email